This article will guide step by step on how to set up your email on Outlook on an Android phone.
Step 1)
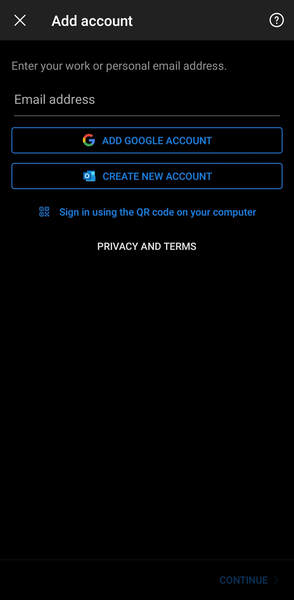
Download Outlook from the PlayStore onto your phone, turn it on until you get to this screen. Type your email in the open box as the other options are for setting up google accounts in Outlook or simply creating a new outlook email. Once you have that done click "Continue" in the bottom right of the screen.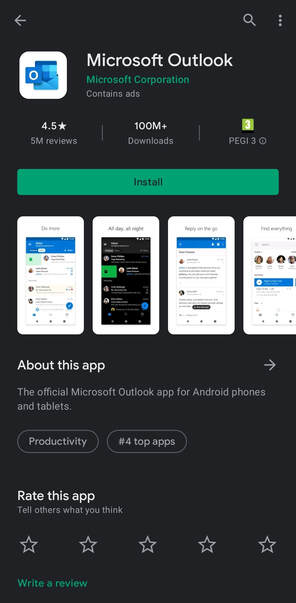
Step 2)
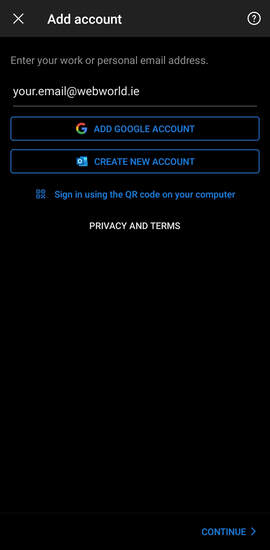
Start by inputting your email and clicking "Continue" on the bottom of the screen.
Step 3)
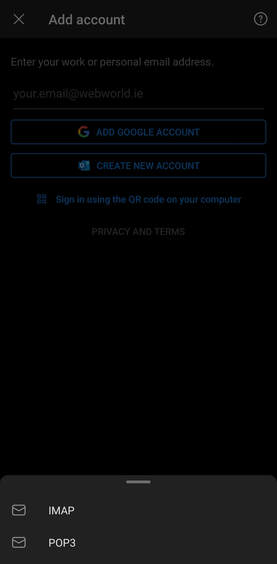
The next step is to select what type of connection do you want set up between your phone and the mail server. You can choose from POP3 or IMAP. To briefly explain, POP3 will download all the emails onto your phone from the mail server and it will delete them, meaning you won't be able to access them from a different device. IMAP does the opposite and it stores them on the server and you can access it from multiple computers. This will automatically connect to the server meaning you won't need to type in the settings manually.Â
For this tutorial we will be using IMAP.
Step 4)
Now you will have a window asking you to type your password in. It will also ask you to type your display name in and description of the mailbox, as you see I set mine to Work Email. When you have the form filled out you can click the tick on the top right side of the screen.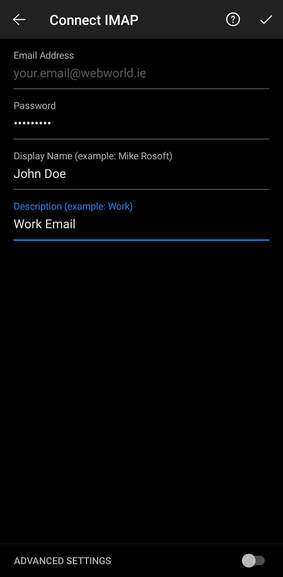
Step 5)
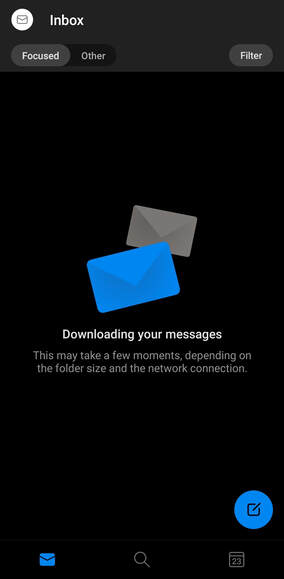
Right after that you are all done and ready to use your email on your phone. It might take a while to load depending which protocol you used and how many emails you have.
If you have any difficulties setting this up, please email us a screenshot of the part where you are stuck and attach the make of the phone you are trying to set it up on.
If you have any questions regarding this please email [email protected] and we will reply to you as soon as possible.


